Upload via the New Module
In the New module, New Document(s) opens the Upload Documents dialog. There you add one or more files, check their details, and choose the folders and locations they belong in, before uploading them all at once.
What you can do in the New module upload flow
- Add files by selecting them or dragging them into the dialog
- Check each file's details before uploading
- Choose the folders the documents go in
- Choose the locations the documents belong to
- Upload every file in one go and follow each one's progress
New Document(s)

New Document(s) is the first tile in the Documents section of the New module. It is shown only if you are allowed to create documents. If you do not see it, ask your Docwize administrator.
Upload Documents dialog
The dialog has three steps: Upload, Folders and Locations. Move between them with the arrows at the bottom of the dialog.
Upload
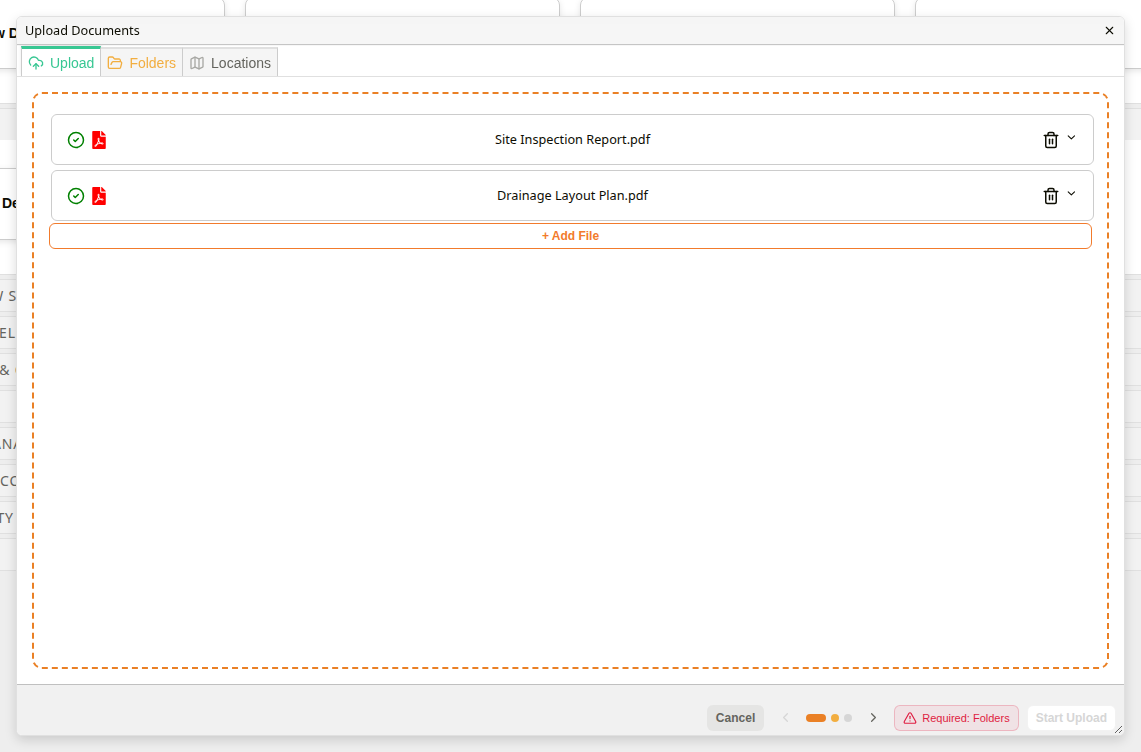
Click Click here to upload files to select files, or drag files into the dialog. Each file gets its own card. Click a card's arrow to show or hide its details, or the bin icon to remove the file. Each file starts with its file name, without the extension, as its Description, and Document as its Type. To add more files, click + Add File.
Folders
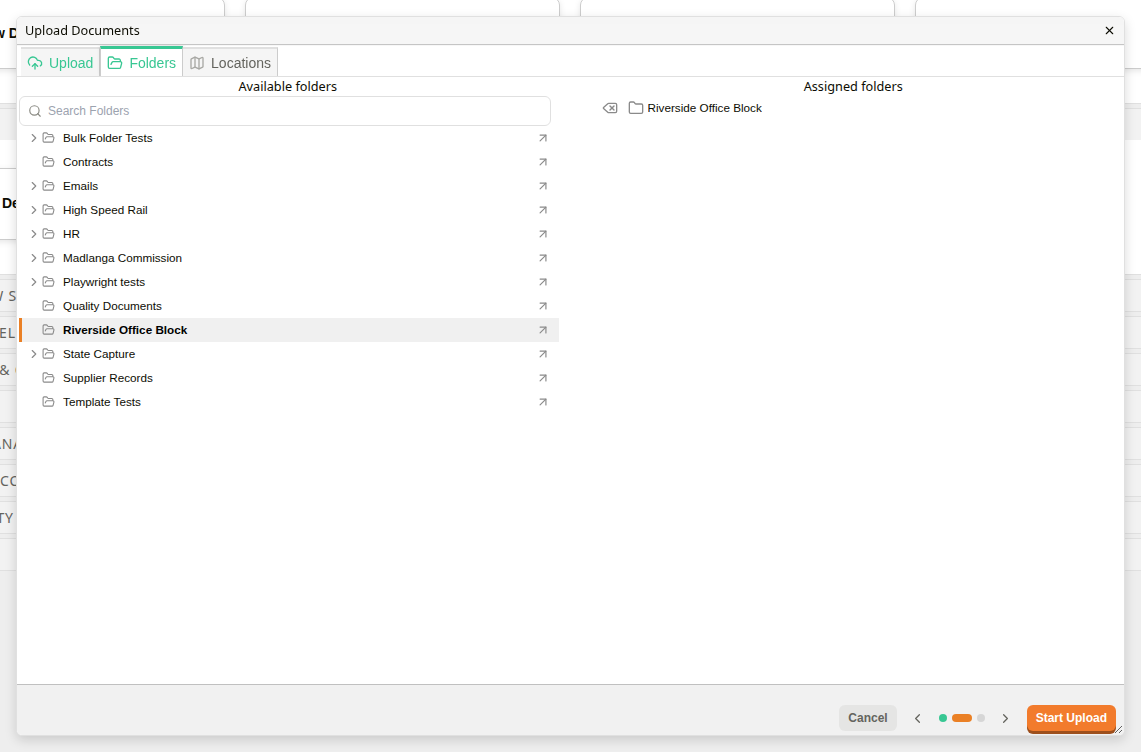
Click a folder under Available folders to add it to Assigned folders. The documents are added to the assigned folders. At least one folder is required. Until you assign one, the dialog shows Required: Folders and Start Upload is unavailable.
Locations
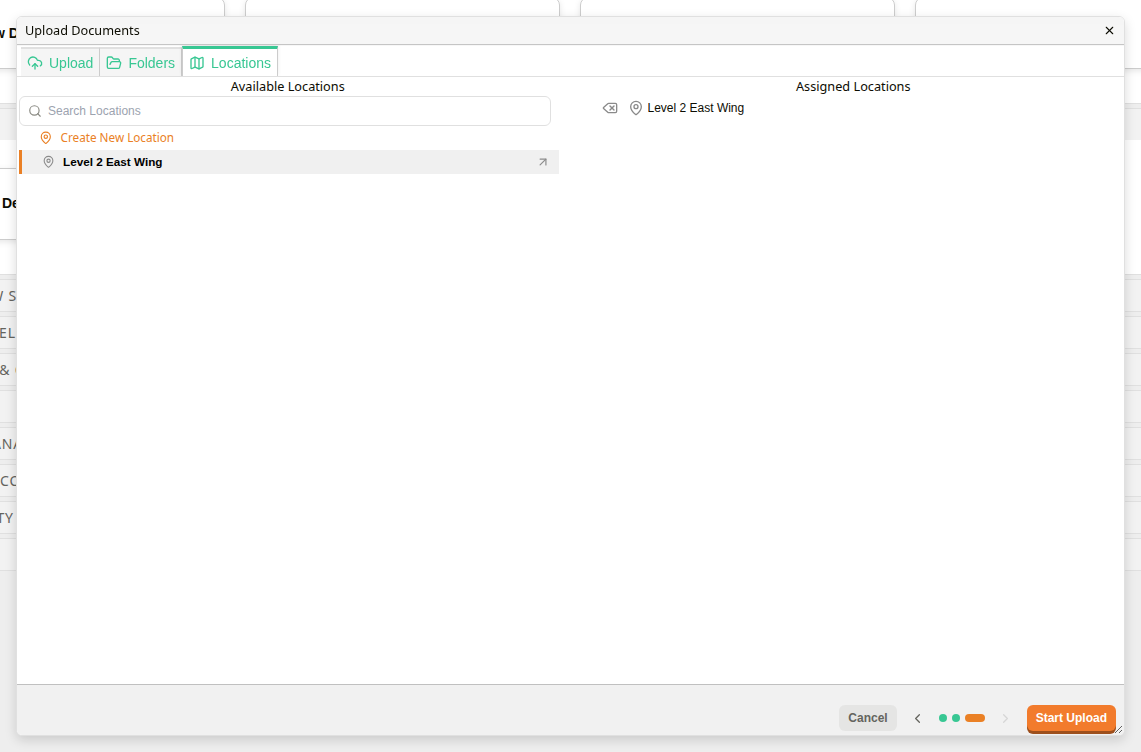
Click a location under Available Locations to add it to Assigned Locations. Locations are optional.
Uploading
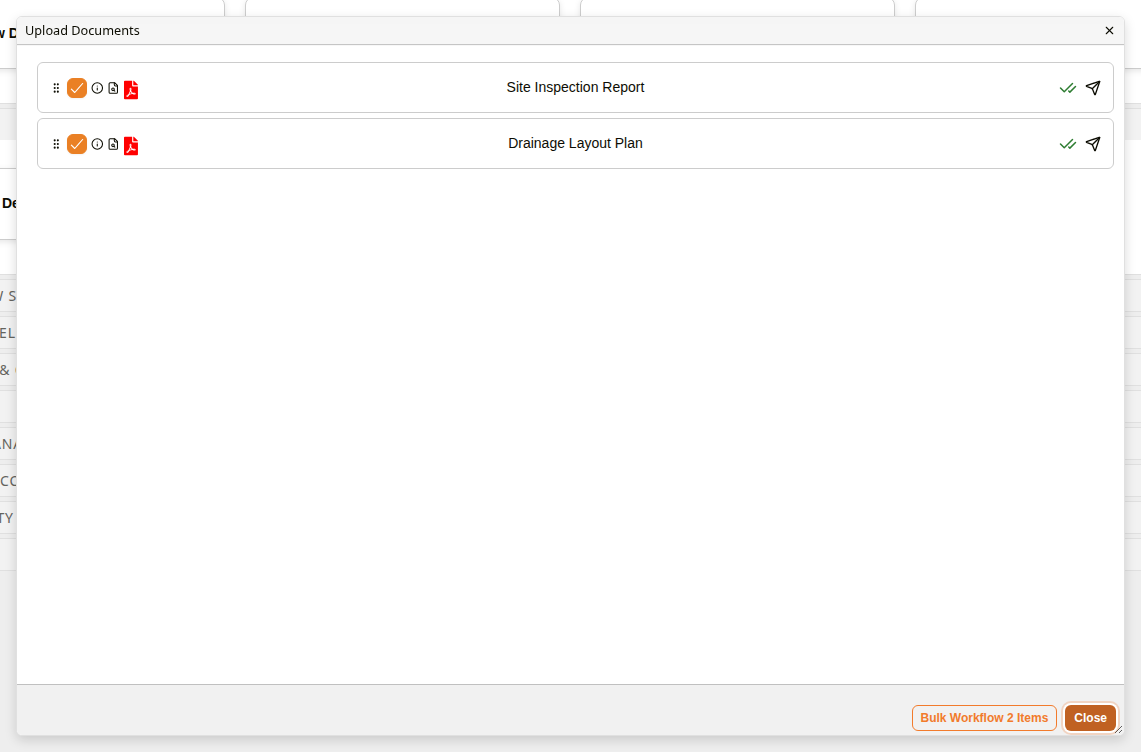
Start Upload is available on every step once you have added a file and assigned a folder, so you do not need to visit Locations if you do not use it. Each file then shows its progress, and its description once it has uploaded. Start Upload becomes Close.
How to upload documents from the New module
| Step | Description |
|---|---|
| 1 | In the New module, click New Document(s). |
| 2 | Click Click here to upload files and select your files, or drag files into the dialog. |
| 3 | Check each file's details on its card. |
| 4 | Click the arrow at the bottom of the dialog to go to Folders, and click the folder the documents belong in. |
| 5 | Optional: go to Locations and click a location. |
| 6 | Click Start Upload. When every file has uploaded, click Close. |
Example: Uploading documents from the New module