Extracting Archives
When you upload a ZIP file with the Bulk Uploader, Docwize can extract it as it uploads. The files inside the ZIP are added to the folder beside it, without you having to unzip them first.
What you can do when uploading archives
- Extract a ZIP file into the folder as it is uploaded
- Keep the ZIP's own folder structure as subfolders
- Upload a ZIP file without extracting it
Extract Archive
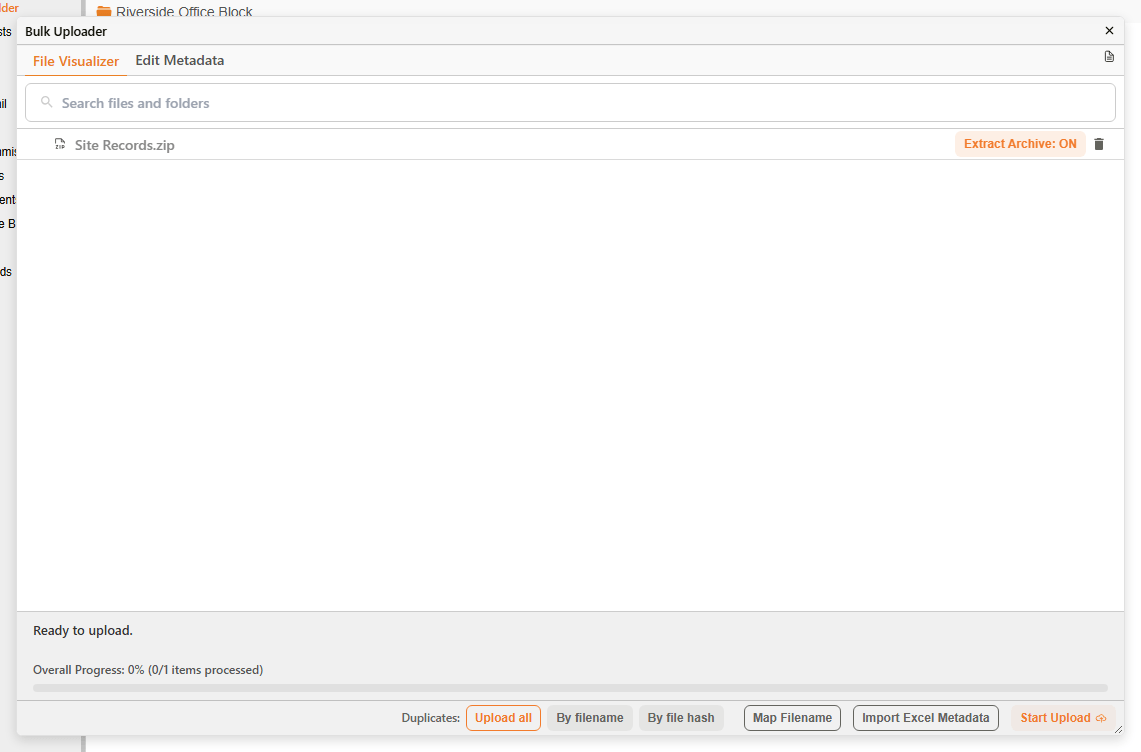
A ZIP file in the Bulk Uploader, set to be extracted
In the Bulk Uploader, each ZIP file has an Extract Archive button before the upload starts.
| Button | What happens when you upload |
|---|---|
| Extract Archive: ON | The default. The ZIP file is uploaded, and its files are added to the same folder. Folders inside the ZIP are created as subfolders, each holding its own files. |
| Extract Archive: OFF | Only the ZIP file is uploaded. |
Click the button to switch between the two. The ZIP file itself is kept as a document in both cases.
Extraction happens after the upload finishes, so the extracted files can take a moment to appear in the folder. A ZIP file can hold up to 50,000 files, up to 200 GB in total, and no single file larger than 5 GB.
How to upload and extract a ZIP file
| Step | Description |
|---|---|
| 1 | Open the folder in Explorer, click New and select Bulk Upload Files, or drag the ZIP file onto the folder. |
| 2 | In the Bulk Uploader, check that the ZIP file shows Extract Archive: ON. |
| 3 | Click Start Upload. |
| 4 | When the upload finishes, close the Bulk Uploader. The ZIP's files and folders appear in the folder beside it. |