Managing the Homepage
The 'Manage Homepage' feature allows users to customise the layout and content of the database's homepage. This includes selecting a background image, configuring which Docwize modules are displayed, and embedding dataviews directly on the homepage.
What users can do in Manage Homepage
- Set or change the homepage background image
- Control which Docwize modules appear on the homepage and how they are arranged
- Embed a dataview on the homepage
- Adjust the size, position, and layering of each homepage section
How to open Manage Homepage
Manage Homepage is accessible from the Admin Console Dashboard. Click the 'Manage Homepage' quick action to open it.
Overview: 'Manage Homepage' Options
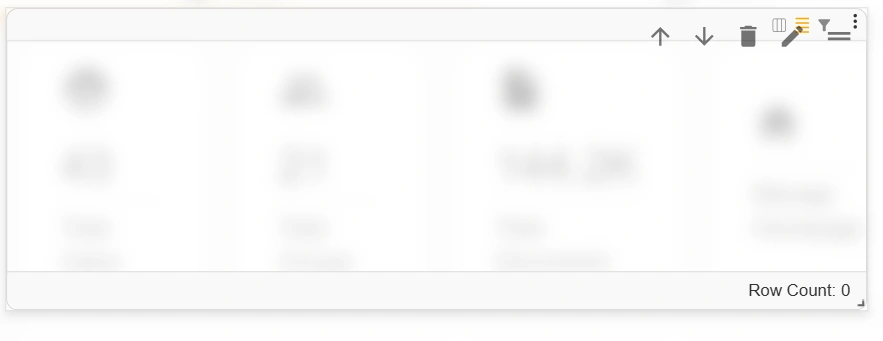
Manage Homepage controls
Each section added to the homepage has a toolbar with the following controls:
| Field | Description |
|---|---|
| Add Section | Opens the options to add an app layout, image, or dataview to the homepage. |
| Save | Saves all changes made to the homepage layout. |
| Bring forward | Sends the selected section forward in the layer order. |
| Send backward | Pushes the selected section backward in the layer order. |
| Delete (bin icon) | Deletes the selected section. |
| Edit (pencil icon) | Opens the editing options for the selected section. |
| Move (drag handle) | Click and drag to reposition the section on the homepage. |
| Resize handle | Drag the bottom-right corner to resize the section. |
Add Apps
The 'Add Apps' option controls which Docwize modules appear on the homepage and how they are arranged. Selecting 'Edit' on an apps section opens the 'Modify Module Layout' dialog.

'Modify Module Layout' dialog
| Field | Description |
|---|---|
| Grid | Sets the number of columns in the module grid. |
| Horizontal Spacing | Sets the number of rows in the module grid. |
| Vertical Spacing | Sets the spacing between rows. |
How to configure the module layout
| Step | Description |
|---|---|
| 1 | In Manage Homepage, click 'Add Section' and select 'Add Apps', or click 'Edit' on an existing apps section. |
| 2 | Adjust the Grid, Horizontal Spacing, and Vertical Spacing values as needed and close the dialog. |
| 3 | Use the move handle to reposition the section, and drag the resize handle to adjust its size. |
| 4 | Use the layering controls to send the section forward or backward if it overlaps other sections. |
| 5 | Click 'Save'. Refresh the browser and navigate to the homepage to see the changes. |
Add Image
The 'Add Image' option allows users to display an image on the homepage, such as a company logo or background image. Selecting 'Edit' on an image section opens the edit dialog.
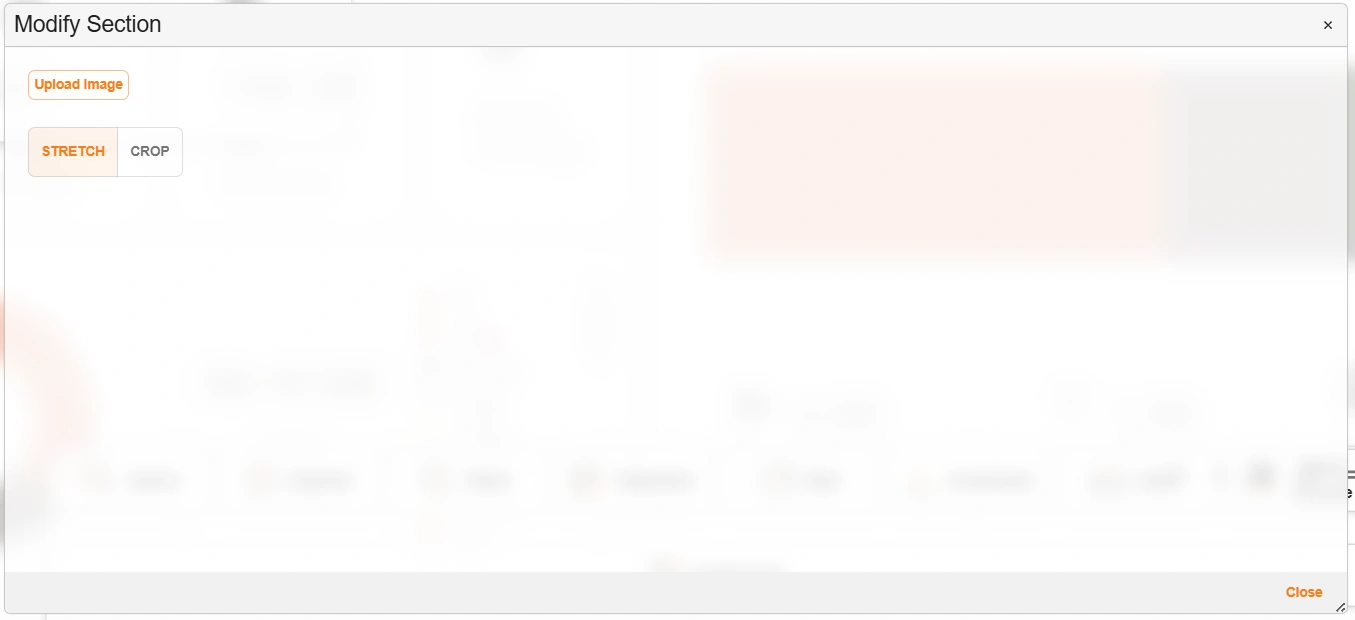
'Edit Image' dialog
| Field | Description |
|---|---|
| Upload image | Uploads an image from the local device. |
| Stretch | Stretches the image to fill the section. |
| Crop | Crops the image to fit the section. |
| Close | Closes the image editing dialog without saving. |
How to add an image
| Step | Description |
|---|---|
| 1 | In Manage Homepage, click 'Add Section' and select 'Add Image', or click 'Edit' on an existing image section. |
| 2 | Click 'Upload Image' and select the desired image from the local device. |
| 3 | Use 'Crop' or 'Stretch' to fit the image to the section as needed. |
| 4 | Close the dialog, then reposition and resize the section as needed. |
| 5 | Click 'Save'. Refresh the browser and navigate to the homepage to see the changes. |
Add Grid
The 'Add Grid' option allows users to display a dataview on the homepage. Selecting 'Edit' on a grid section opens the configuration dialog.
'Add Grid' dialog
How to add a dataview
| Step | Description |
|---|---|
| 1 | In Manage Homepage, click 'Add Section' and select 'Add Grid', or click 'Edit' on an existing grid section. |
| 2 | Select the desired dataview from the dropdown and close the dialog. |
| 3 | Reposition and resize the section as needed. |
| 4 | Click 'Save'. Refresh the browser and navigate to the homepage to see the changes. |
Related configuration
- Admin Console — overview of all Admin Console areas
- Query Builder — datasources used to populate homepage dataview grids
- Chart Builder and Interface Builder — charts and interfaces that can be embedded on the homepage