Creating a Record Template
Here is an overview of how to create a record template.
Overview: Creating a record template
To create and/or edit existing record templates, a user can access the ‘Manage Records’ button.

'Manage Records' button
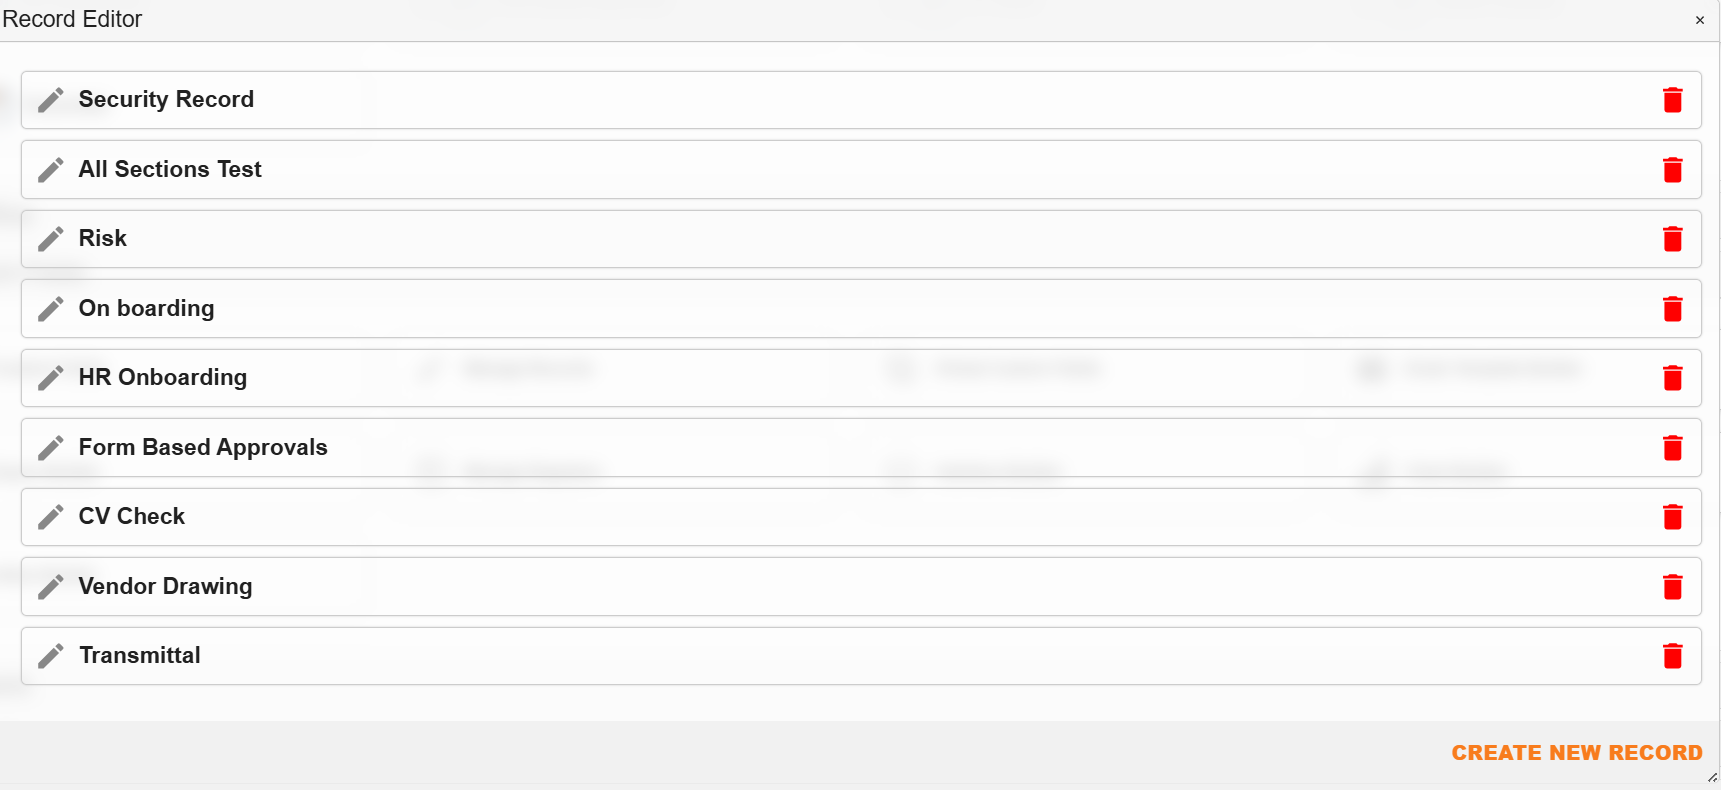
The Record Editor dialog will appear, listing all current record templates, as well as the option to create an new one.

Example: Record Editor dialog listing current record templates
The Record Editor toolbar options include:
| Field | Description |
|---|---|
 | Access to edit an existing record. |
 | Deletes an existing record. |
 | Accesses a template dialog to create a new record template. |
'Add Record' Dialog
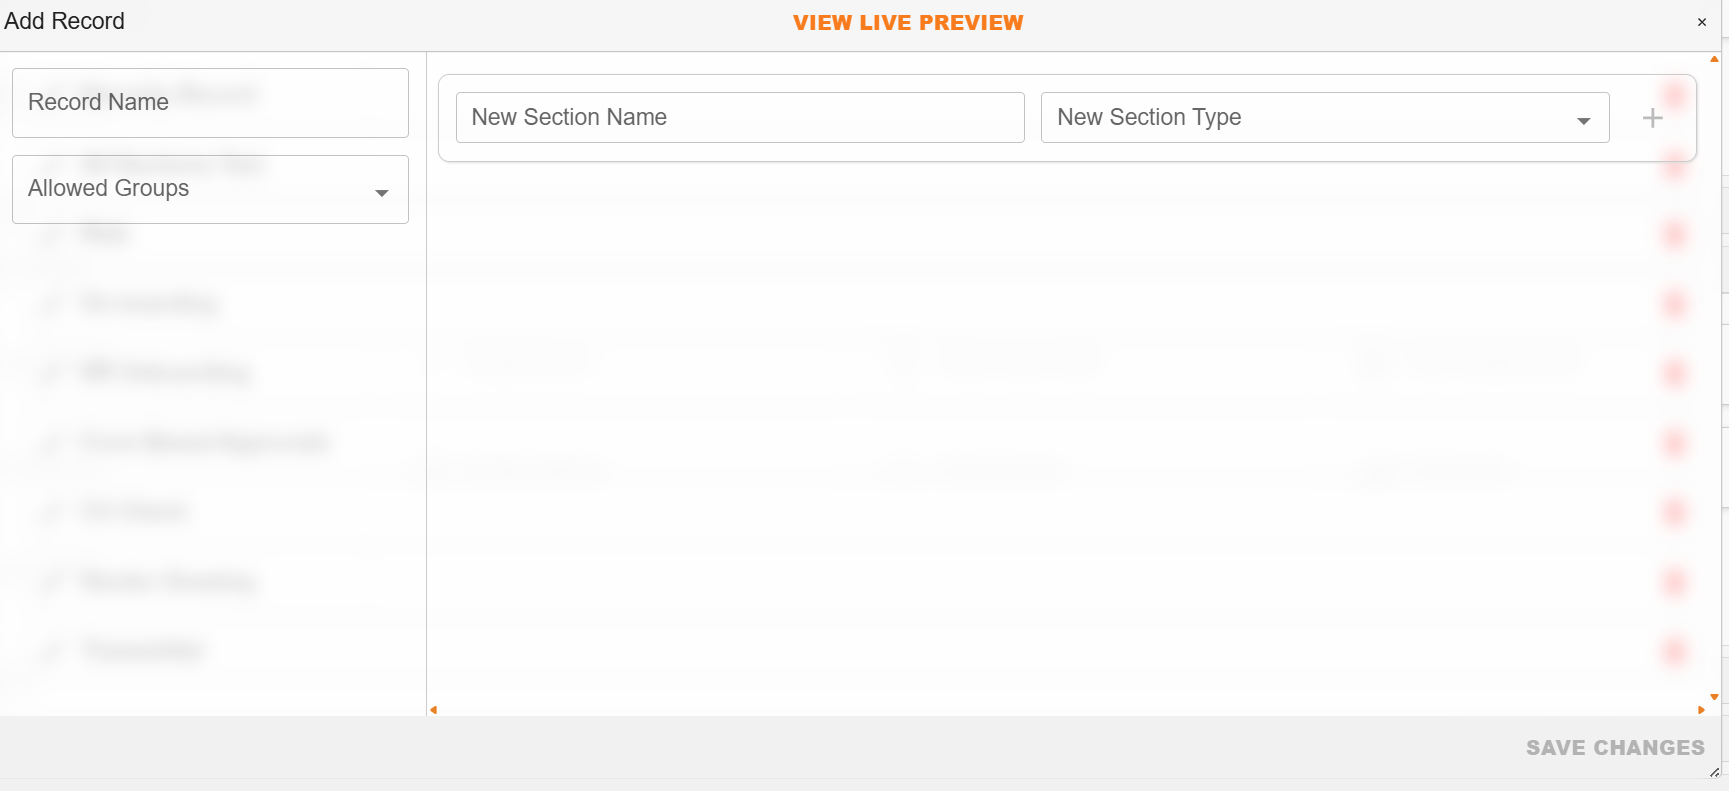
When the 'Create New Record' button is clicked on, it will open the 'Add Record' dialog.

'Add Record' dialog
| Field | Description |
|---|---|
| Record Name | Allows a user to type in the name of the record template. |
| Allowed Groups | Allows a user to select which group(s) (managed in the Admin Console) is/are permitted to have access to complete the record. |
| New Section Name | Allows a user to type in the descriptive name for a specific section of the record. |
| New Section Type | Allows a user to select what type of section to add. (See additional details below.) |
| + | Adds the new section to the template. |
| View Live Preview | Located in the top toolbar, this allows a user to view the record template once created. |
'New Section Type' Options
A user can select different section types to add to the template. The options include:
| Field | Description |
|---|---|
| Attachment Section | Allows users to add a section which will enable the person completing the record to add attachments. Note: this differs from the ‘Upload Section’. |
| Custom Field | Allows users to add custom field template(s) that have been created for the person completing the record to populate. |
| Document Field | Allows users to add fields from the Document Details dialog, linking aspects of a particular document to the record. |
| Document Template Section | Allows users to link the record to a specific template. The information captured via the record can be used to populate the relevant template. |
| Folder Section | Allows users to specify which folder(s) completed records are to be allocated to. Folder permission is key to managing security and document access. |
| Upload Section | Allows users to add a section which will enable the person completing the record to upload a primary document. Note: this differs from the ‘Attachment Section’. |
| Workflow Section | Allows users to link the record to a specified workflow, so that once someone has completed a record it will initiate the relevant workflow. |
| Location Section | Allows users to add a section which will enable the person completing the record to select a relevant location (eg. A WBS). |
| Reference Number | Allows users to specify a template format for the automatic, sequential generation of reference numbers pertaining to the record. |
| Drawing Section | Allows users to add a section which will enable the person completing the record to upload a drawing. |
| Distribution Section | Allows users to add a section which will enable the person completing the record to select recipients of the completed record. |
| Dataview Section | Allows users to select which dataview the information from the completed record can be accessed in. |
Once a section has been added to the record template, the following icons are visible:
| Field | Description |
|---|---|
 | Enables a user to move the section, changing the order it appears in the record template. |
 | Enables the user to select whether the section is visible or hidden from the person completing the record. |
 | Enables the user to select whether the section is optional or required for completion. If a section is required, the person completing the record will not be able to save it until it is completed. |
 | Enables the user to delete the section from the record. |
 | Expands/contracts additional options pertaining to the record section. Note: in some instances, no additional options are available. |
How to Create a Record Template
| Step | Description |
|---|---|
| 1 | Navigate to ‘Manage Records’ and select ‘Create a new record’. |
| 2 | Name your record and select which user groups can access the record to be able to complete it. |
| 3 | Type in your preferred name for a record section and select the type of section it is. Repeat until you have added all relevant sections. |
| 4 | Select your preferred settings (visible or hidden, optional or required) for each section. |
| 5 | If applicable, add additional options pertaining to the field. (For example, if you add a ‘Custom Field’ section, you need to select the relevant custom field template.) |
| 6 | Click ‘Save’. |
| 7 | Optional: click the ‘View Live Preview’ button to view your record template. |
How to Complete a Record
For information about how to complete a record, please see the User Notes' Records section.