3D Model Review
Docwize opens 3D models in the document preview. You can move around the model, measure it, and add Model Notes — comments pinned to an exact point on the model. Unlike a regular note, which belongs to the document as a whole, a model note is linked to the model element at the point where it was pinned.
What you can do in 3D Model Review
- Open a 3D model in the document preview
- Rotate the model, fit it in view, cut sections through it and switch between standard views
- Measure lengths, edges, angles and areas on IFC models
- Pin a note to any point on the model
- Give a note a title, description and status
- Open a note from its pin, its card or a link
- Edit or delete your own notes
- Collapse the Model notes panel and reopen it
Which viewer opens
Most 3D models open straight in the document preview, so anyone reviewing a model can look at it, measure it and comment on it without design software installed. Docwize chooses how to open a model from its file type.
| File type | What opens |
|---|---|
| IFC | The 3D viewer, with measuring tools |
| STEP, IGES, OBJ, STL, DAE, FBX, 3DS, 3DM, GLB, GLTF, PLY, XYZ point clouds | The 3D viewer |
| RVT, RFA, NWD, NWC | A separate viewer, where it has been set up. See RVT, RFA, NWD and NWC models. |
| SAT, X_T, E57, DTM, NWF | Not viewable in the browser. Use Download original. |
| DWG, DXF, DGN, DWF, DWFX | The standard document preview |
A model must be self-contained. A model that relies on separate texture or resource files does not open, and a model larger than the viewer's size limit opens as a download instead.
This matters most for glTF files, which are often saved with their geometry in a separate .bin file and their textures next to them. If you upload a .gltf like that, the preview shows This model could not be opened and explains why. Upload the model as a .glb, or as a .gltf with its resources embedded, and it opens in the 3D viewer.
Navigating the model
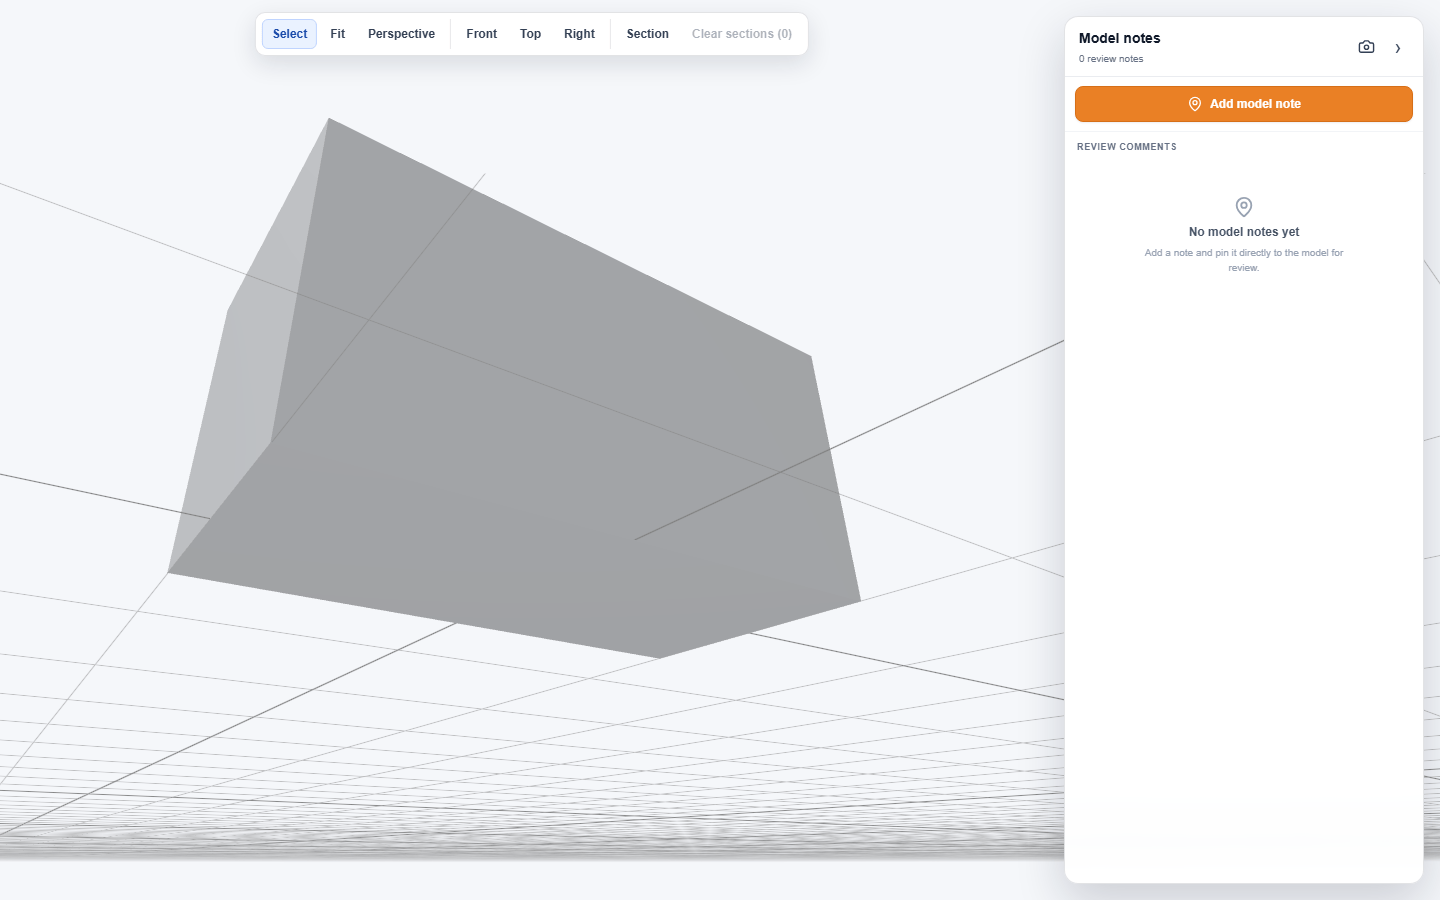
The 3D viewer shows a toolbar along the top of the model. Drag on the model to rotate the view. Use the controls to look at the model the way your review needs, for example a standard Front view to compare against a drawing, or a Section to see inside it.
| Control | Description |
|---|---|
| Select | Click an element to select it. Its name appears in a bar with a Clear button. |
| Fit | Fits the whole model in view. |
| Perspective / Orthographic | Switches the camera projection. The button shows the current mode. |
| Front, Top, Right | Moves the camera to a standard view. |
| Section | Click a surface to cut the model at that point. |
| Clear sections (n) | Removes every section cut. Available once a section exists. |
IFC model tools
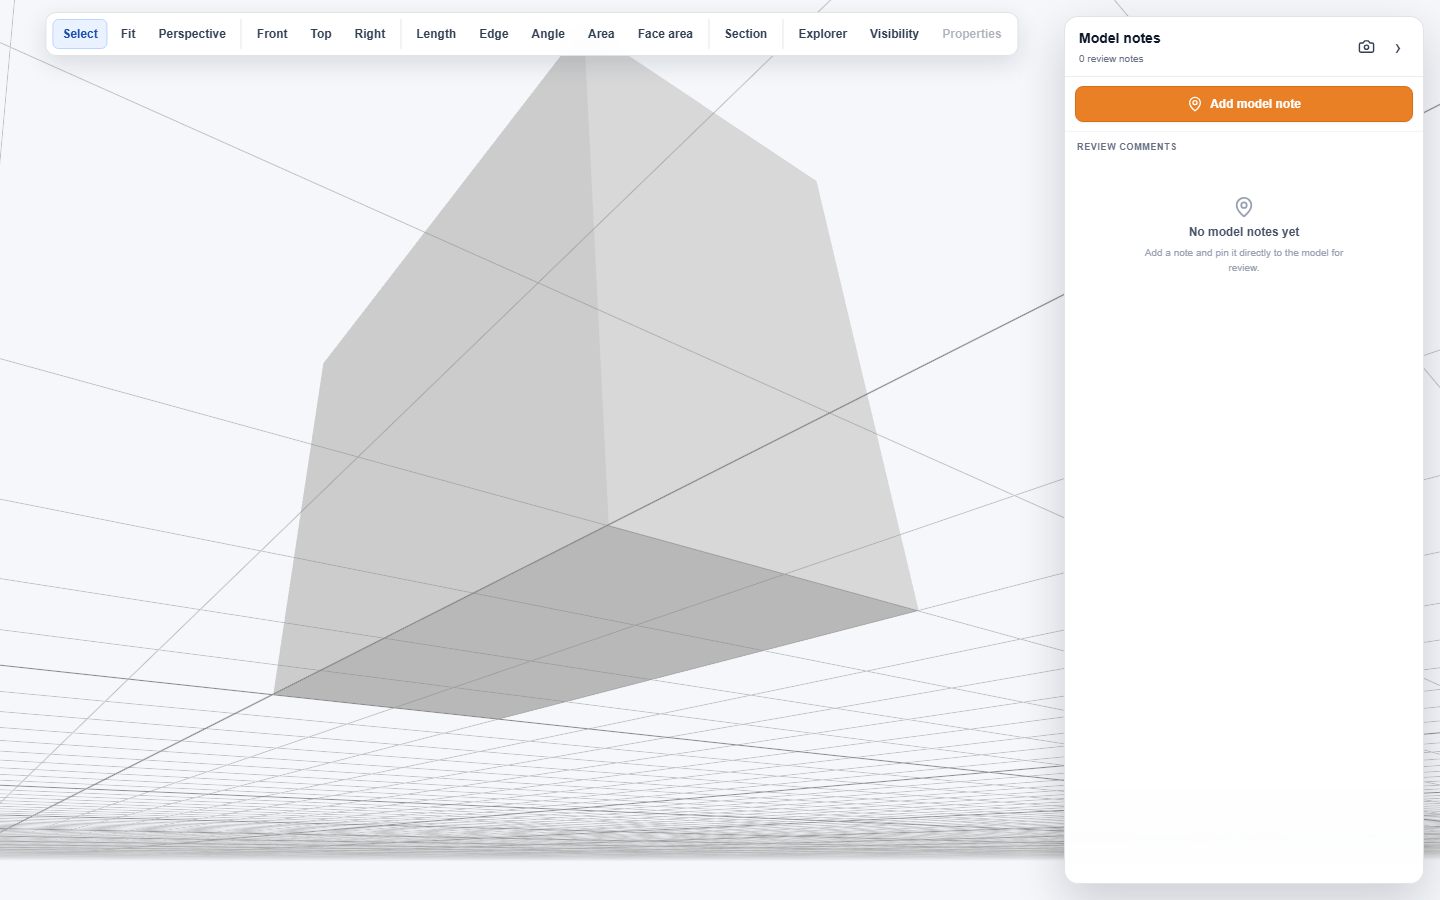
IFC is the open format used to exchange building information models, so an IFC model describes what each element is, not only its shape. IFC models therefore open with measuring tools and model information tools alongside the navigation controls. Use them to check a dimension or an area during a review, or to look up what an element is, without opening the model in design software.
| Tool | Description |
|---|---|
| Length | Length: click two snapped points. Point, edge and face snapping are active. |
| Edge | Edge length: hover an edge and click to dimension the whole edge. |
| Angle | Angle: click three snapped points. |
| Area | Area: click polygon corners, then Finish area or press Enter. |
| Face area | Face area: hover a model face and click to measure it. |
| Explorer | Opens the model explorer. |
| Visibility | Shows or isolates the model's storeys and categories. |
| Properties | Shows the properties of the selected element. Available only while an element is selected. The properties open on their own when you select an element; close them with ×. |
When a measuring tool is active, its instructions appear below the toolbar.
The toolbar stays in the space beside the Model notes panel. If it is too wide to fit, for example once Clear measures appears, scroll it sideways to reach the rest of the tools.
Measurements
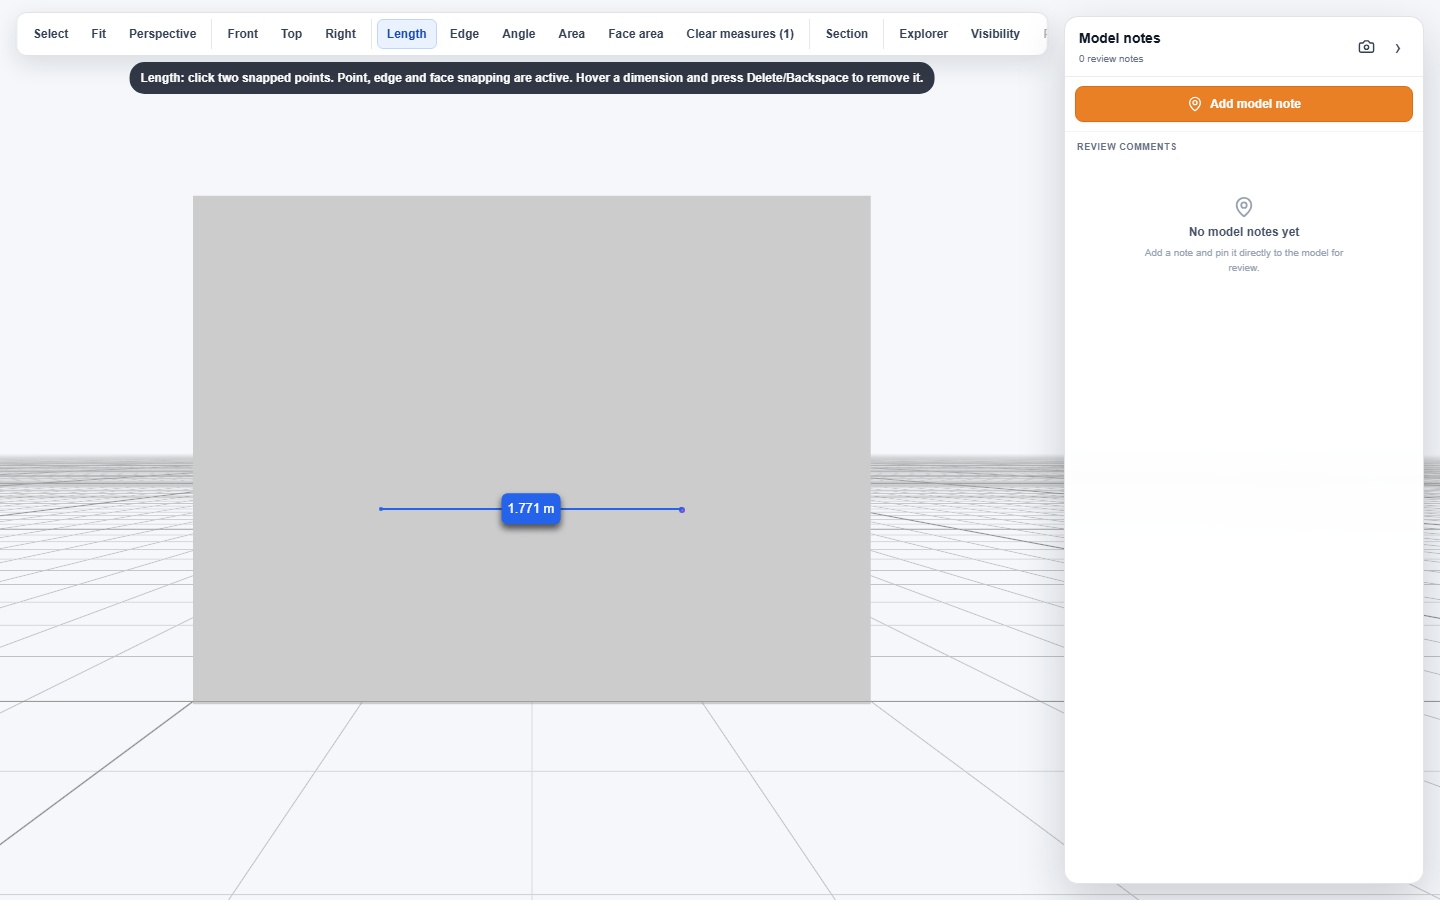
Each measurement is drawn on the model with its value, so you can see exactly what was measured. A length is drawn as a line between its two points, an area as a highlighted shape, and a face area across the whole face.
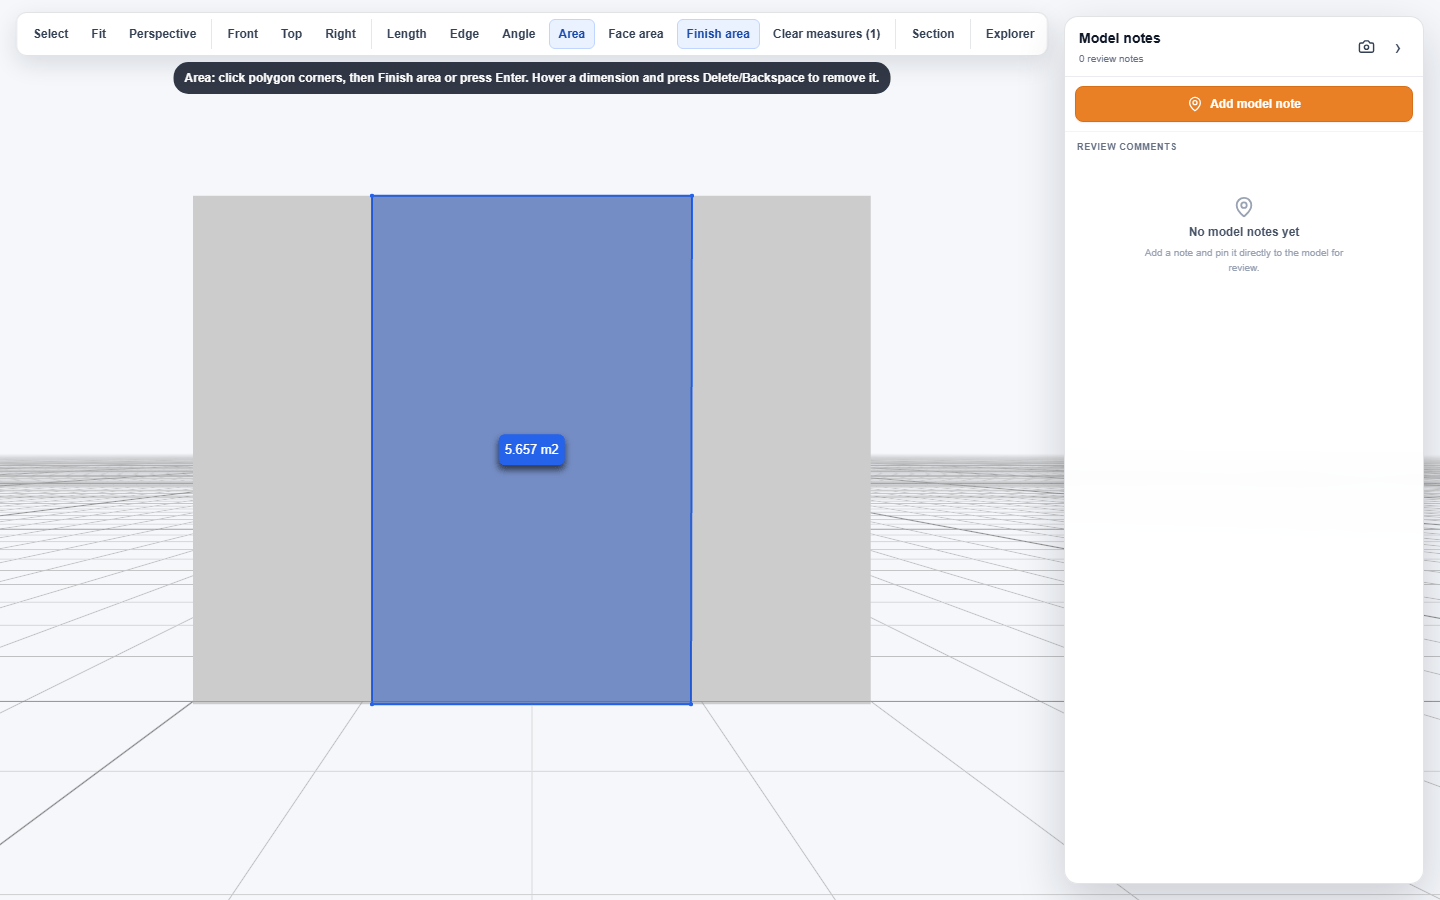
When measuring an area, corners snap to nearby edges and points, so a corner placed close to an edge moves onto it. Check the outline before relying on the value.
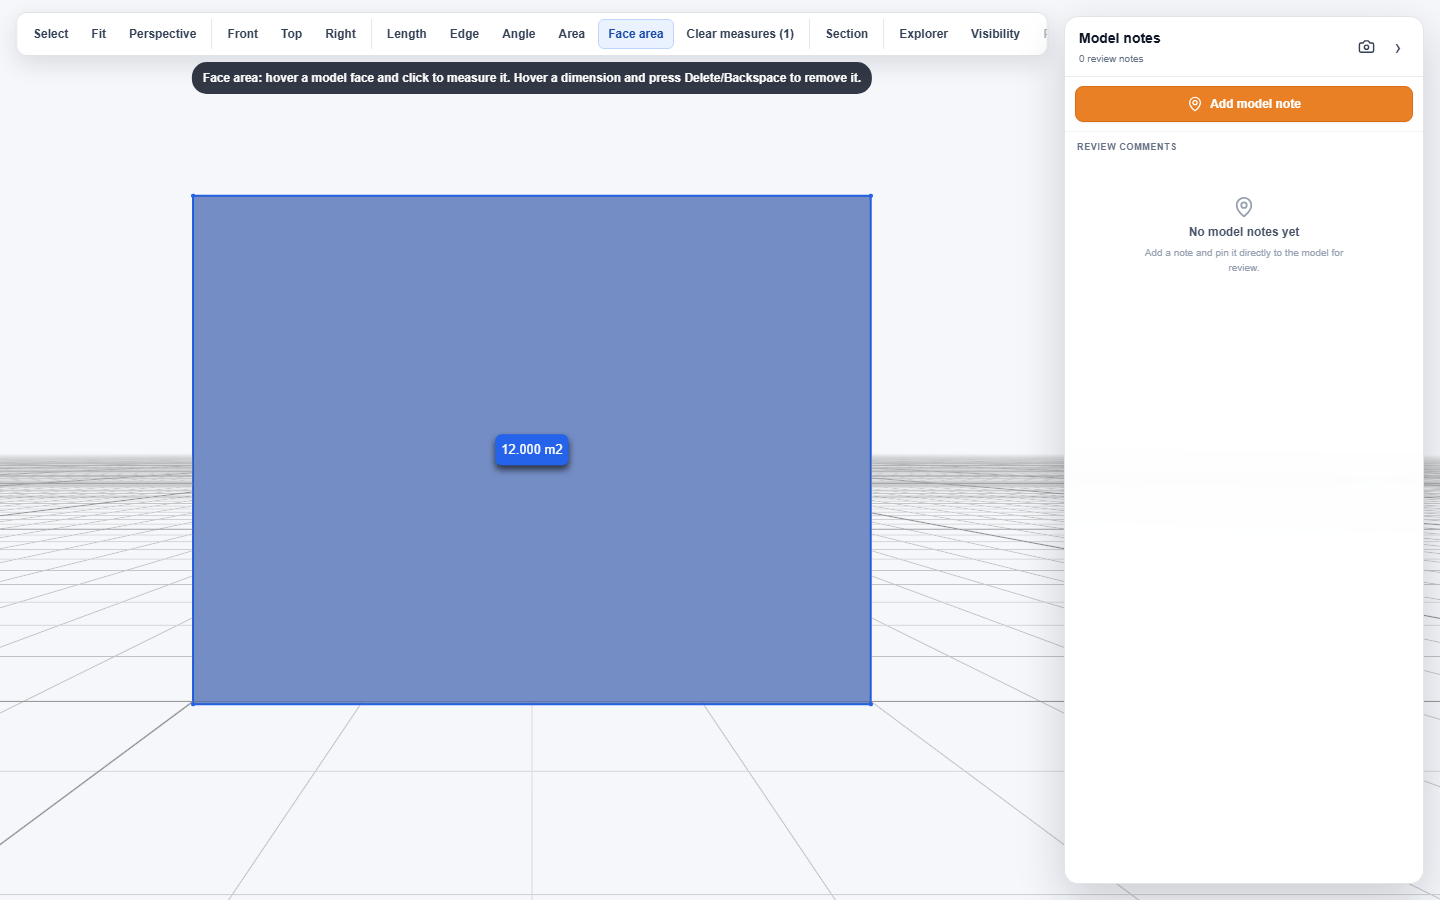
Measurements snap to points, edges and faces. Lengths are labelled in metres (m), areas in square metres (m2) and angles in degrees, to three decimal places.
To tidy up, or to start again:
| Action | How |
|---|---|
| Remove every measurement | Click Clear measures (n). The button appears once a measurement exists. |
| Remove one measurement | Hover over it and press Delete or Backspace. |
| Cancel a measurement in progress | Press Esc. |
RVT, RFA, NWD and NWC models
Where it has been set up, RVT, RFA, NWD and NWC models open in a separate viewer with its own toolbar.
| Icon | Description |
|---|---|
| Orbit | Rotates the view around the model. This is the default navigation tool. |
| Pan | Drags the view without rotating it. |
| Zoom | Zooms the view in or out. |
| Walk | Navigates through the model in first-person view. |
| Camera | Opens a submenu with Fit to View, Field of View and Roll. |
| Section Analysis | Slices the model along an X, Y or Z plane, or with a box region, to see inside it. |
| Measure | Measures distance, angle or a location on the model. |
| Explode | Drags a slider to separate the model's parts for a clearer view of how they fit together. |
| Model Structure | Opens the model tree, listing the model's elements with visibility toggles and search. |
| Properties | Shows the properties of the selected model element. |
| Settings | Opens the viewer's configuration, navigation and appearance settings. |
| Fullscreen | Expands the model preview to fill the screen. |
Model notes panel
Model notes are how reviewers comment on a 3D model. Each note is pinned to the exact point it is about, so whoever picks it up sees the issue in place, instead of reading a description of where to look. The Model notes panel beside the model lists every note and lets you add new ones.
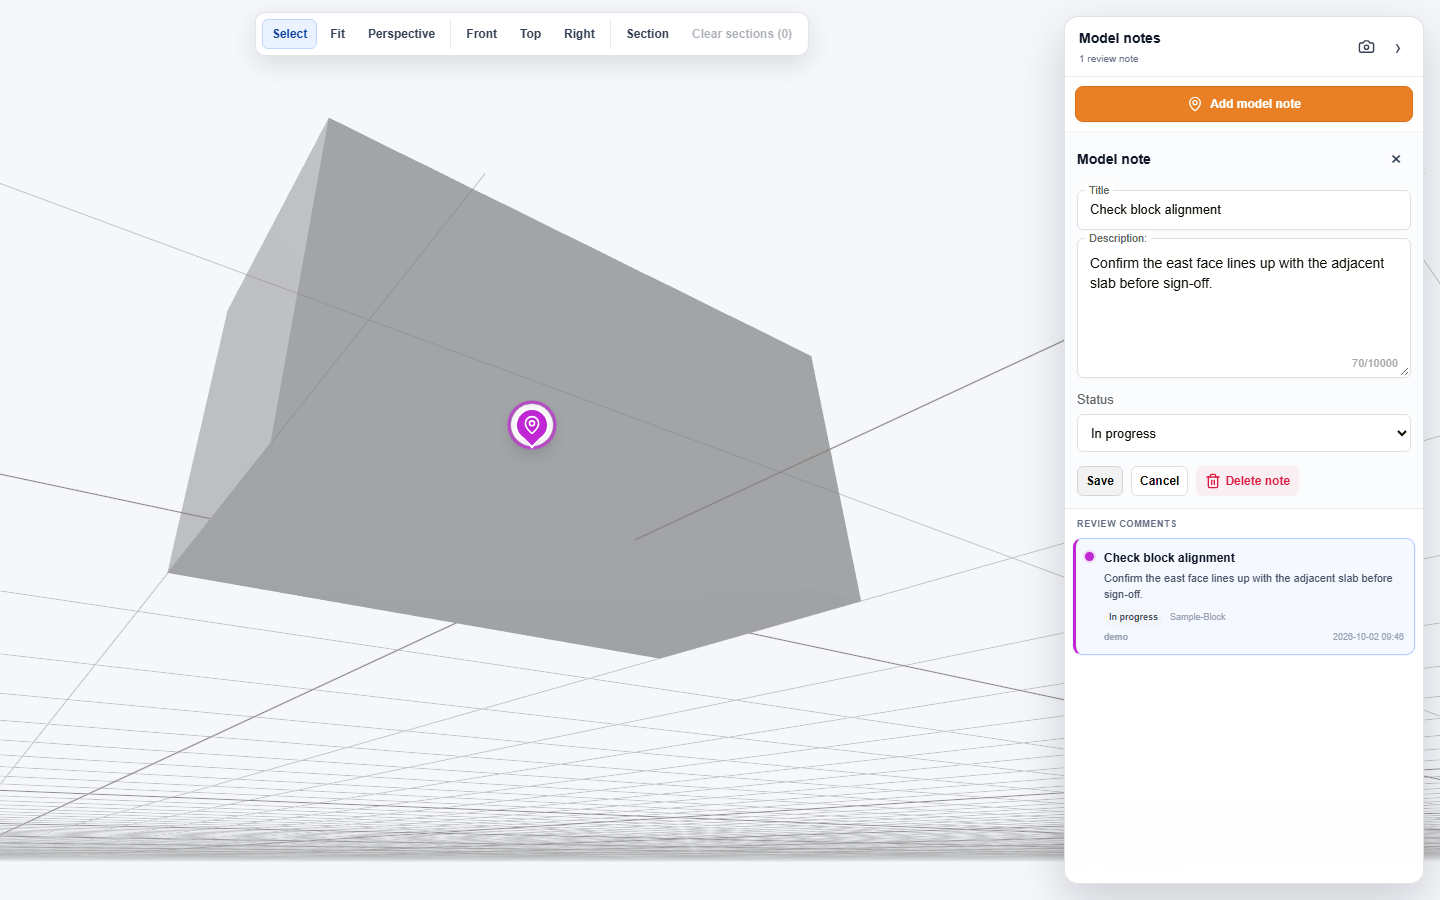
| Item | Description |
|---|---|
| Model notes | The panel heading, with the number of notes on the model. |
| Camera icon | Set current view as preview. Uses the current view as the model's representative image, after you confirm. |
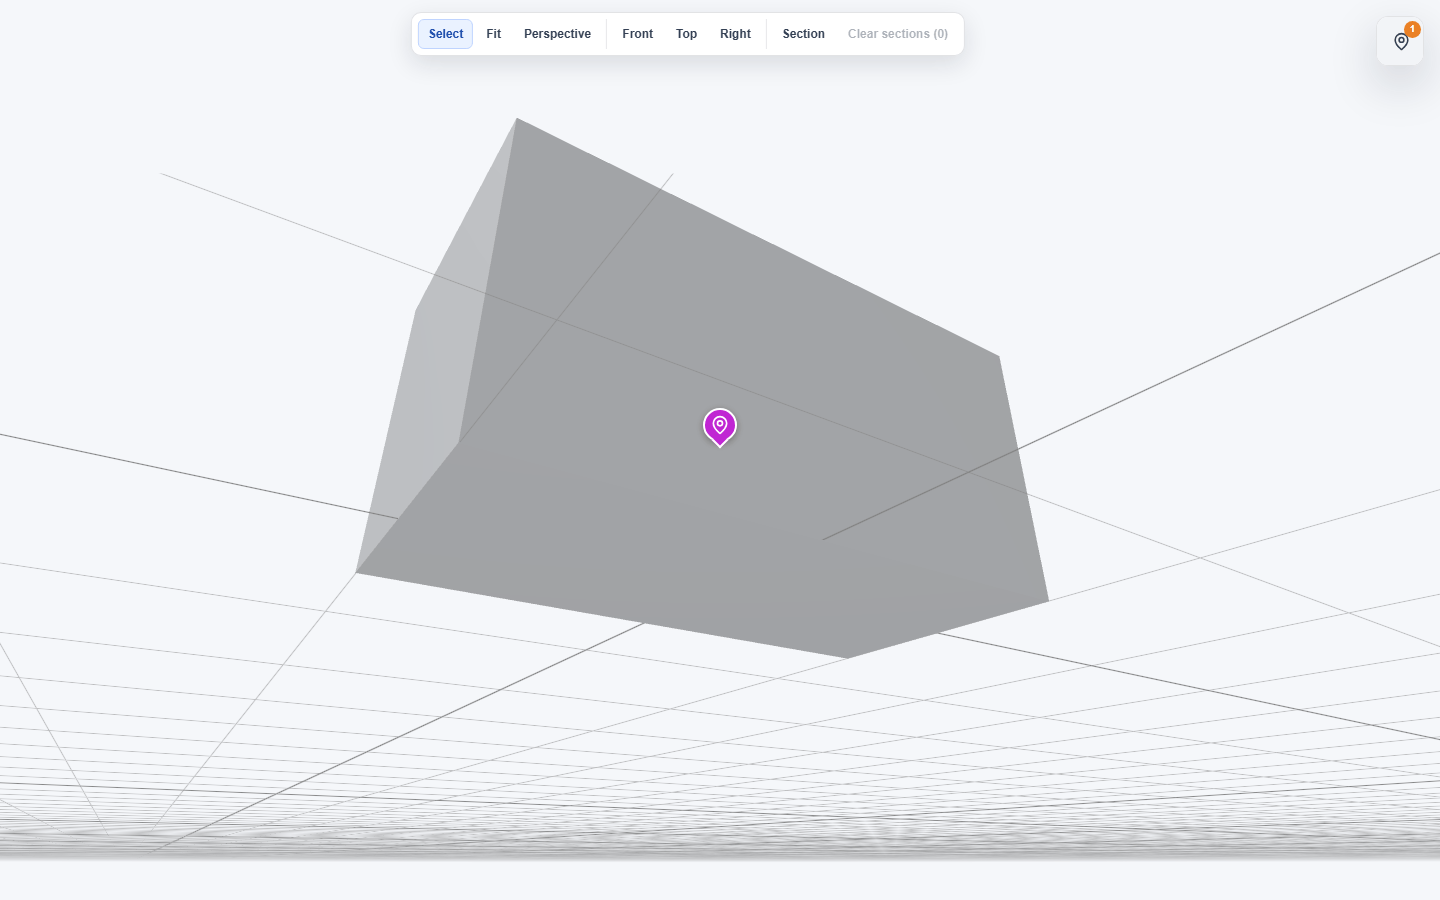
| › | Collapse model notes. Shrinks the panel to a floating pin that shows the note count. Click it to reopen the panel. |
| Add model note | Starts pinning a new note to the model. |
| Review comments | Every note on the model. Each card shows the note's title, description, status, the element it is pinned to, who added it and when. |
| Pin | Marks the point where a note was added. Its colour matches the note's card. Click a pin or a card to open that note. |
A link to a model note opens the model with that note already selected.
Model note fields
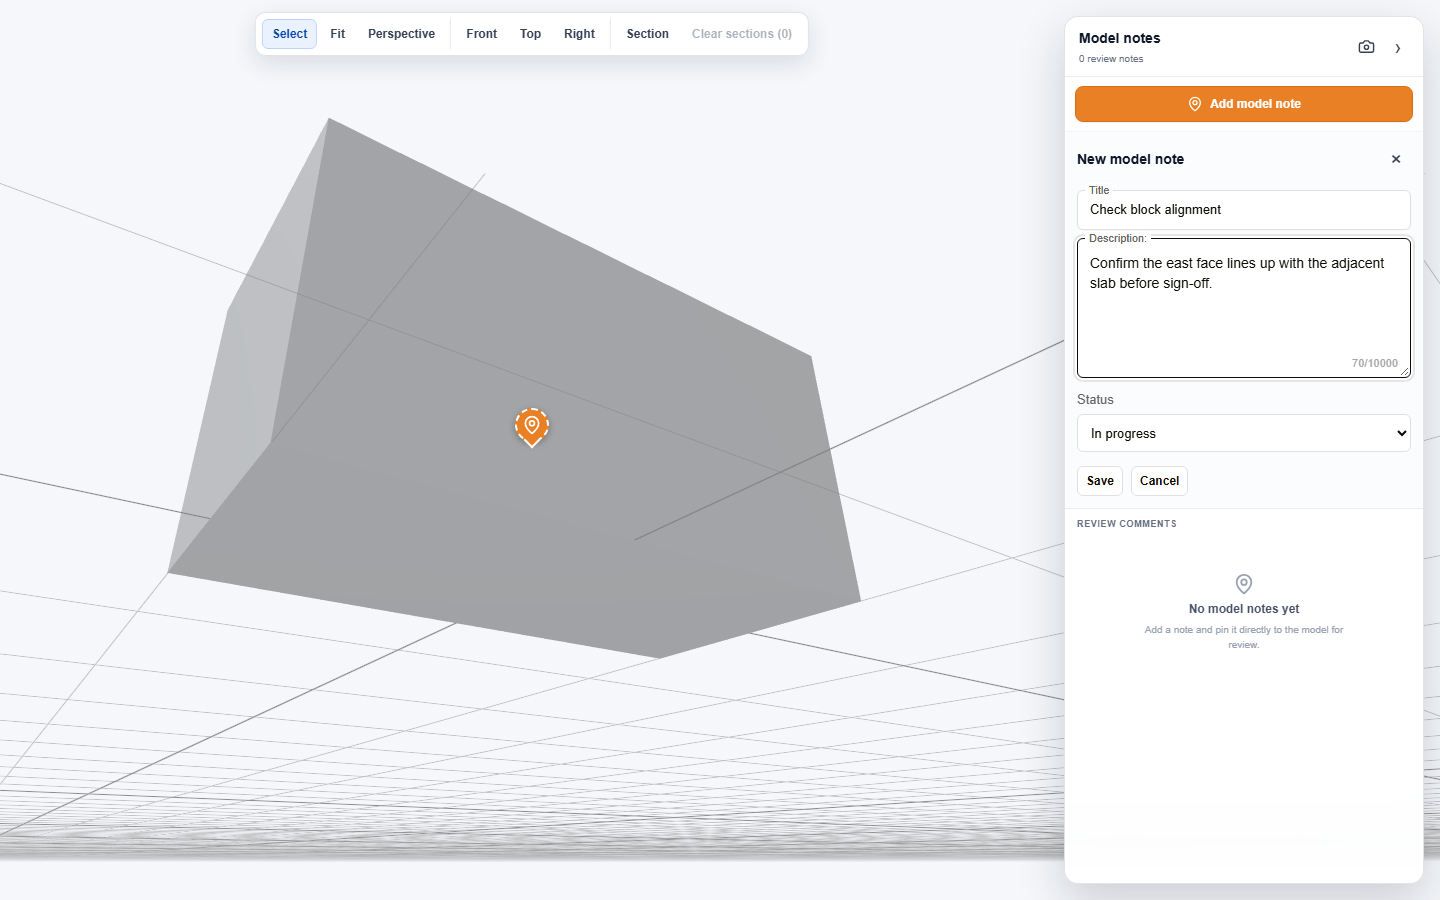
| Field | Description |
|---|---|
| Title | A short label for the note, up to 160 characters. Defaults to "Model note". Required. |
| Description | The body of the note, up to 10,000 characters. A counter below the field shows how many characters are used. |
| Status | Open, In progress, Resolved. Defaults to Open. Update it as the issue is dealt with, so that everyone can see which notes still need attention. |
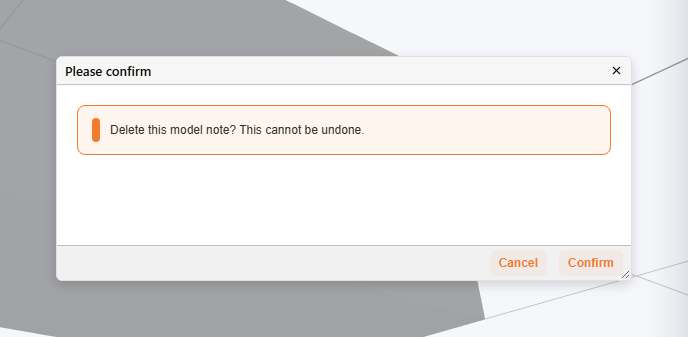
Only the user who added a model note can edit its title, description or status, or delete it. A model note added by someone else opens in read-only mode. Deleting a note asks you to confirm first.
How to add a model note
| Step | Description |
|---|---|
| 1 | Click Add model note. The panel shows Pick a model point. |
| 2 | Click the point on the model where the note belongs. Use the navigation toolbar to get a clear view first, if needed. |
| 3 | Enter a Title and Description, and choose a Status. |
| 4 | Click Save. The note is added to the list and its pin appears on the model. |
Save is unavailable while the title is empty. To stop without saving, click Cancel.
Here is an example of measuring a model and adding a model note about the measurement:
Example: Measuring a model and adding a model note
How to edit or delete a model note
| Step | Description |
|---|---|
| 1 | Open the note from its pin or card. |
| 2 | To edit it, change the Title, Description or Status and click Save. |
| 3 | To delete it, click Delete note, then Confirm. |
Deleting a note cannot be undone.
How to measure a length
| Step | Description |
|---|---|
| 1 | Click Length. |
| 2 | Click the first point, then the second. The distance appears on the line between them. |
How to measure an area
| Step | Description |
|---|---|
| 1 | Click Area. |
| 2 | Click each corner of the area. |
| 3 | Click Finish area, or press Enter. The area appears inside the shape. |
How to measure a face
| Step | Description |
|---|---|
| 1 | Click Front, Top or Right to face the surface you want to measure. |
| 2 | Click Face area. |
| 3 | Click the face. Its area appears on the face. |