Manage Lists
The List Manager provides access to the system lists used throughout Docwize for document classification, contact management, and project configuration. Users use this area to add, edit, and delete the values that appear in dropdown fields across the system — such as document types, statuses, and project types.
Who configures this
Users with access to the New module. The List Manager is accessible from New > Custom Fields & Configuration > Manage Lists.
List Manager
The List Manager panel organises system lists into three sections. Selecting any list opens a gridview displaying the current entries for that list.
List Manager panel
Document Lists
| List | Description |
|---|---|
| Prefix | Document number prefixes applied when creating documents. |
| Document Types | Document classification types (for example: Invoice, Certificate, Minutes of Meeting). |
| Statuses | Document statuses (for example: Accepted, Approved, Cancelled). |
| PR Statuses | Post-review statuses applied after document review (for example: No Comments, Return with Comments). |
| Cross Reference Reasons | Reasons used when cross-referencing documents (for example: Attachment, Referred To). |
Contacts
Note: Contacts can receive and download documents distributed from Docwize (for example, via transmittal) but cannot perform functions within a Docwize database.
| List | Description |
|---|---|
| Business Types | Business classification types for contact organisations. |
| Designations | Contact job designations (for example: CEO, Director). |
| Categories | Custom contact categories. |
| Category Statuses | Statuses for contact categories (for example: Active, Inactive). |
Projects
| List | Description |
|---|---|
| Project Types | Classification types for projects (for example: Construction, General Management). |
| Project Statuses | Project lifecycle statuses (for example: Active, Cancelled, Completed). |
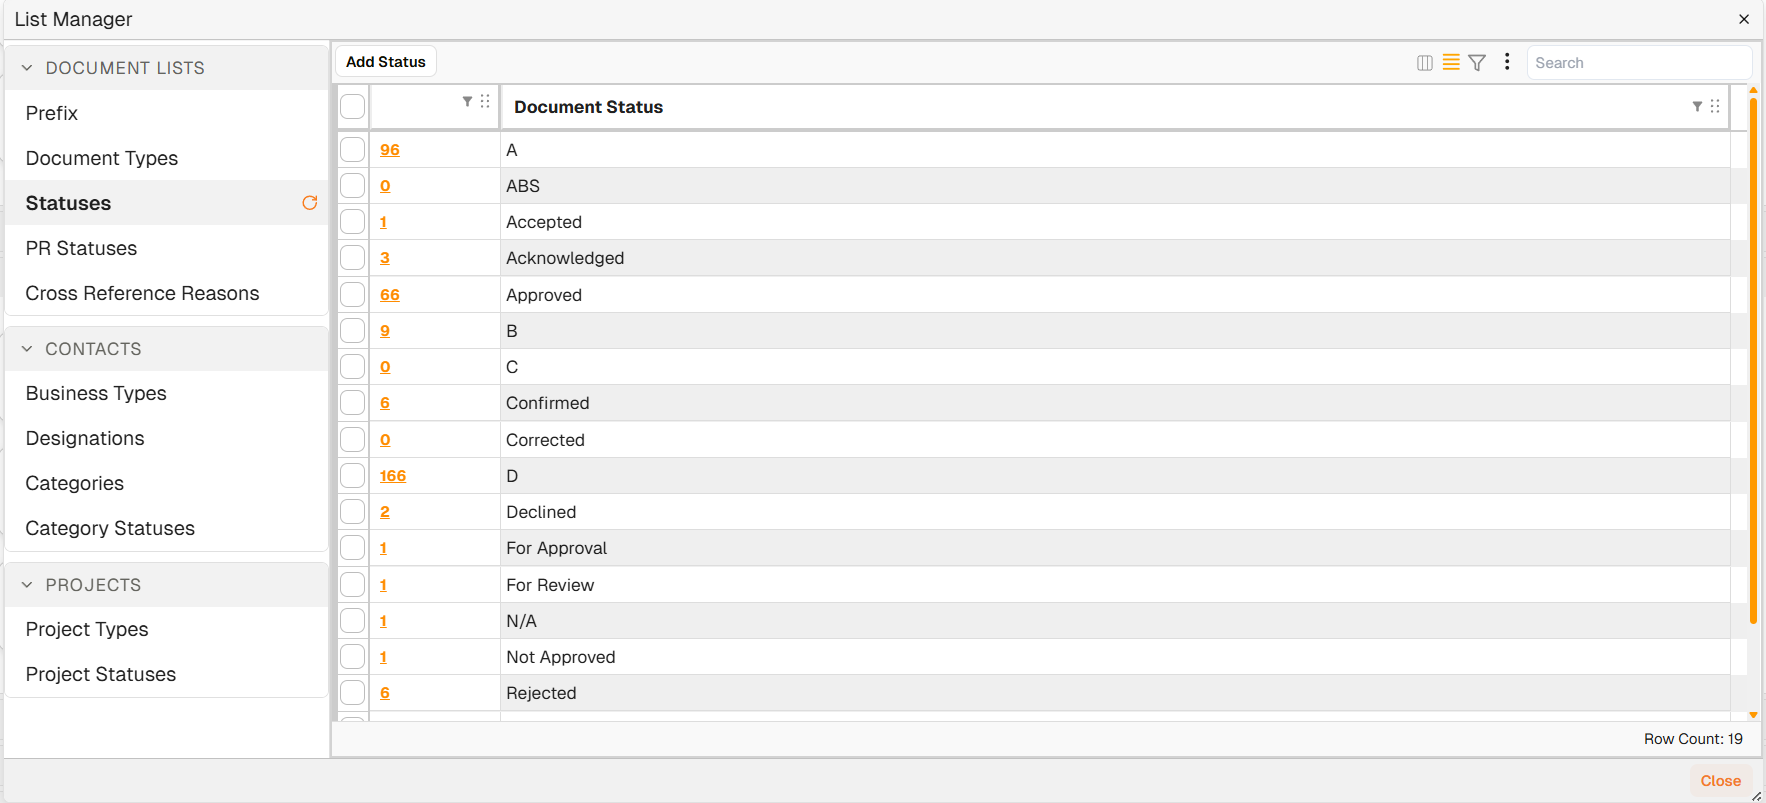
Gridview controls
Selecting a list from the panel opens a gridview of its current entries.
Example gridview: Document Statuses list
| Control | Description |
|---|---|
| Add | Adds a new entry to the selected list. |
| Tick box (row selection) | Selecting one or more rows reveals Edit Selected and Delete Selected buttons. |
| Hyperlink | Clicking the hyperlink on a row opens a list of all documents linked to that entry. |
Note: If documents are linked to a row selected for deletion, those documents must be reassigned to another entry before the deletion can proceed.
How to add an entry
| Step | Description |
|---|---|
| 1 | Navigate to New > Custom Fields & Configuration > Manage Lists. |
| 2 | Select the relevant list from the panel. |
| 3 | Click Add, complete the required fields, and save. |
Example: adding an entry to the List Manager
How to edit an entry
| Step | Description |
|---|---|
| 1 | Navigate to New > Custom Fields & Configuration > Manage Lists. |
| 2 | Select the relevant list. |
| 3 | Select the tick box on the row to edit. |
| 4 | Click Edit Selected, make the required changes, and save. |
Example: editing an entry in the List Manager
How to delete an entry
| Step | Description |
|---|---|
| 1 | Navigate to New > Custom Fields & Configuration > Manage Lists. |
| 2 | Select the relevant list. |
| 3 | Select the tick box on the row to delete. |
| 4 | Click Delete Selected. If documents are linked to the entry, reassign them to another entry first. |
Example: deleting an entry from the List Manager
Troubleshooting
| Risk | Detail |
|---|---|
| Cannot delete an entry | If the entry is linked to existing documents, deletion is blocked. Click the hyperlink on the row to view linked documents, reassign them, then retry the deletion. |
| Changes not reflected in dropdowns | Some list values may be cached in the user's session. A browser refresh may be required before updated values appear. |
Related configuration
- Custom Fields overview — introduction to the custom fields configuration sequence
- Projects — project configuration that uses the Project Types and Project Statuses lists
- Contacts — contact management that uses the Business Types, Designations, and Categories lists